
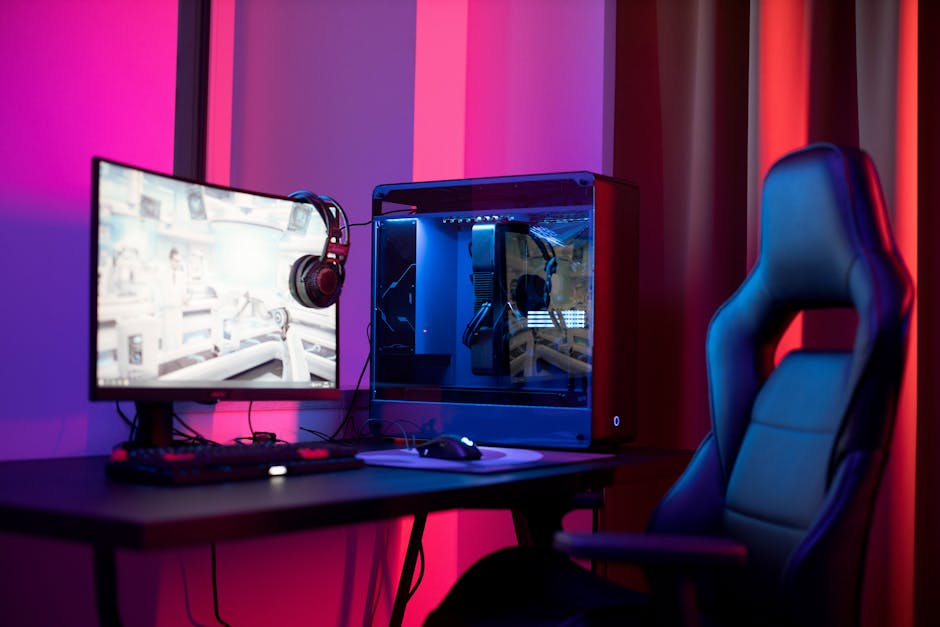
Reviving Your Throne: A DIY Guide to Gaming Chair Repair
Ah, the gaming chair. For many, it’s more than just a piece of furniture; it’s a throne where countless victories and a few defeats have been experienced. However, like any good steed, even the best gaming chair can show signs of wear over time. Fear not, for you don’t need to break the bank to breathe new life into your cherished seat. Today, we’re diving into the world of DIY gaming chair repair—a journey that promises to be both budget-friendly and immensely satisfying.
Let’s face it, a new gaming chair can cost as much as a mid-range graphics card, and if you’re anything like me, you’d rather save those pennies for the next big gaming release. So, why not roll up your sleeves and take on the challenge of repairing your own chair? Not only will you save money, but you’ll also gain the satisfaction of a job well done.
First things first, assess the damage. Is it a squeaky wheel? A wobbly armrest? Or perhaps the seat has lost its cushioning? Whatever the issue, identifying the problem is the first step towards fixing it. For squeaky wheels, a simple application of WD-40 might do the trick. It’s amazing what a little lubrication can achieve.
If the armrests are loose, check for screws that might need tightening. Often, with just a few twists of a screwdriver, your armrests can be restored to their former glory. In cases where screws are missing or stripped, consider purchasing a small set of replacement screws online. They’re inexpensive and can be a lifesaver.
Now, let’s talk about cushioning. Over time, the padding in your chair might become compressed or uneven. You can address this by purchasing some high-density foam from your local craft store. Simply cut the foam to the size of your seat and slip it under the existing cushion. Voila! Your chair is comfortable once again.
For those who enjoy a bit of artistry, reupholstering can be a fun project. Choose a fabric that matches your style—perhaps something vibrant to liven up your gaming space. There are plenty of online tutorials to guide you through the process, from removing the old fabric to attaching the new.
Finally, don’t underestimate the power of a good cleaning. Over time, dirt and grime can accumulate on your chair, making it look older than it really is. A thorough cleaning with fabric or leather cleaner can work wonders, leaving your chair looking as good as new.
So there you have it—a few simple steps to revive your gaming chair without the need for a costly replacement. By taking the time to repair rather than replace, you’re not only being kind to your wallet but also to the environment. In an age where sustainability is more important than ever, giving your chair a second life is a small but significant step towards reducing waste.
Next time you’re ready to conquer the virtual battlefield, you can do so from the comfort of your refurbished throne, knowing you’ve accomplished something worthwhile both for yourself and the planet.